Have you ever wished you could mess around with WordPress without the trouble or cost of installing it on a web hosting server?
Staging environments are perfectly fine when you need to debug issues or test updates before pushing to a live WordPress website. But what about when you want to:
- Try out new plugins?
- Take a theme for a test spin or build your own?
- Explore a new WordPress feature?
- Experiment with a trending design or coding technique?
- Continue working on a website even when wi-fi connectivity is sparse or non-existent?
In those cases, it’s best to install WordPress locally on your computer. So, today, we’re going to show you how to install WordPress on XAMPP.
How to Install WordPress Locally with XAMPP
Despite making its open-source software readily available for download, WordPress is not something that can be installed on your computer. Not on its own anyway.
If you want to install WordPress on the localhost (i.e. your computer), you’re going to need assistance.
Start here:
Step 1: Choose a Local Server Environment
In order to get a working installation of WordPress going on your computer, you need a local environment with:
- Web server software (usually an Apache server),
- A programming language like PHP or Perl,
- And database management software like MySQL or MariaDB.
XAMPP is the one we’re going to walk you through today. That said, there are other options available, if you prefer:
- WampServer for Windows operating systems
- MAMP for Mac or Windows
- DesktopServer for Mac or Windows
- Local by Flywheel for Mac, Windows, or Linux environments (and is especially useful if you have Flywheel hosting you want to migrate your test site, too)
Setup isn’t really complicated with any of these options. However, because XAMPP is a popular dev environment and it’s device-agnostic (Mac, Windows, and Linux compatible), we’re going to focus on that one today.
Step 2: Download XAMPP
Visit the Apache Friends website and download the latest version of XAMPP for your operating system (in this example, we’re using Windows):
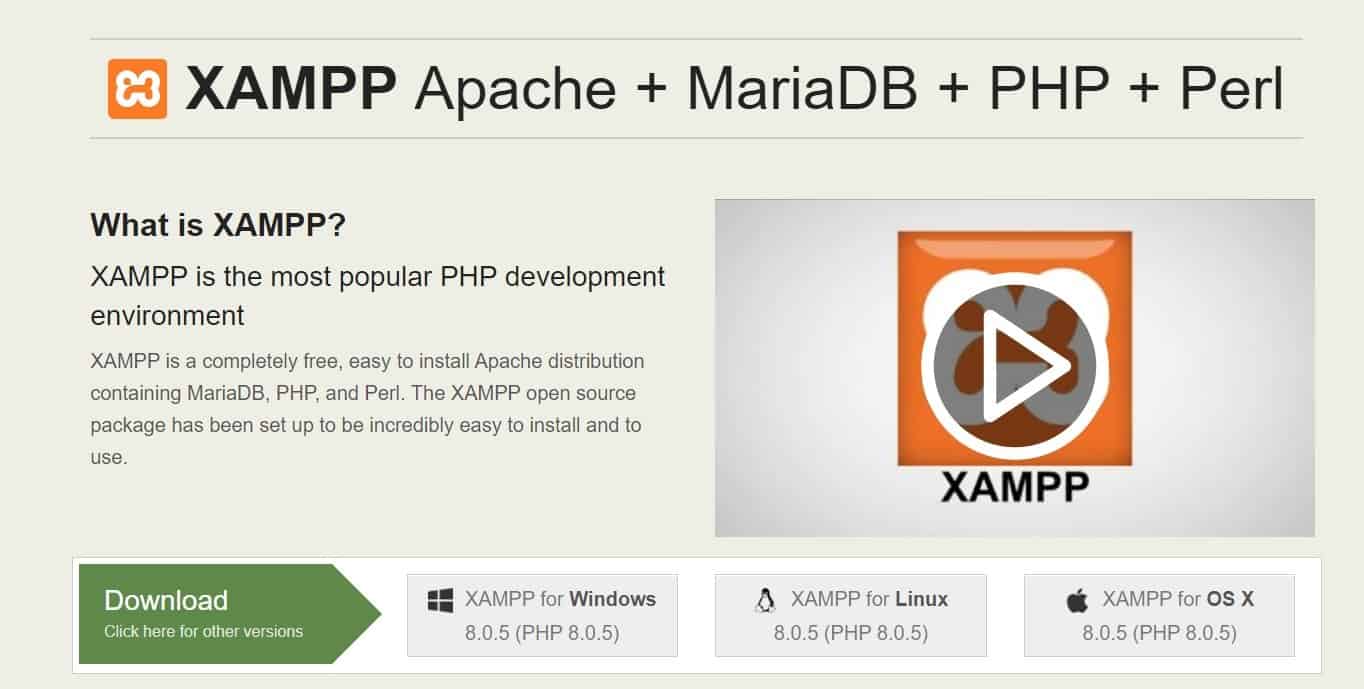
The file will automatically start to download.
When it’s done, add XAMPP to your applications and start the loading process.
Note: In the “Select Components” tab, you only have to choose the following:
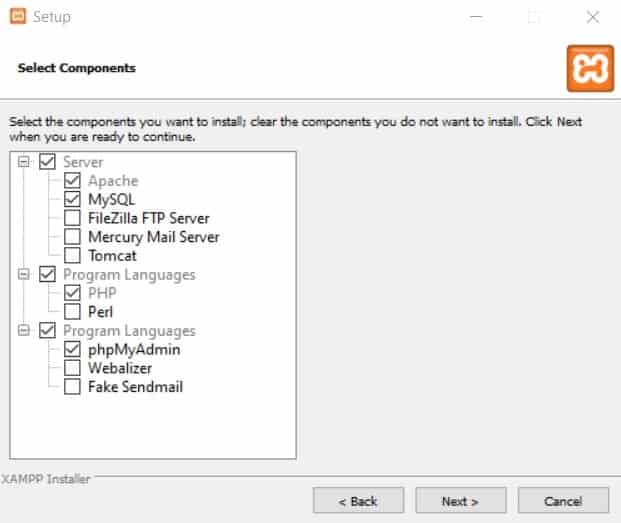
Depending on your operating system, you may need to accept a number of access permissions before the application fully loads.
Once everything is installed and ready, you will be greeted with the XAMPP control panel:
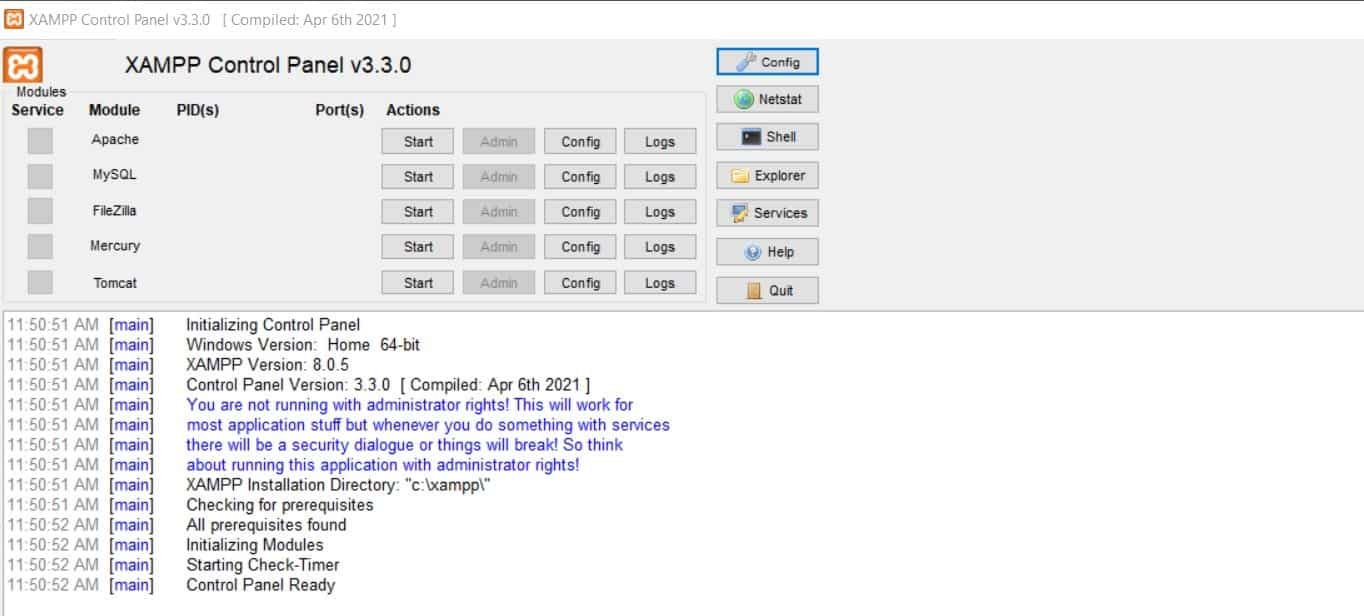
Now you’re ready to start configuring.
Step 3: Configure Your XAMPP Environment
In order to start your XAMPP properly, you’ll need to start Apache and MySQL. You can do that by clicking on “Start” next to the modules.
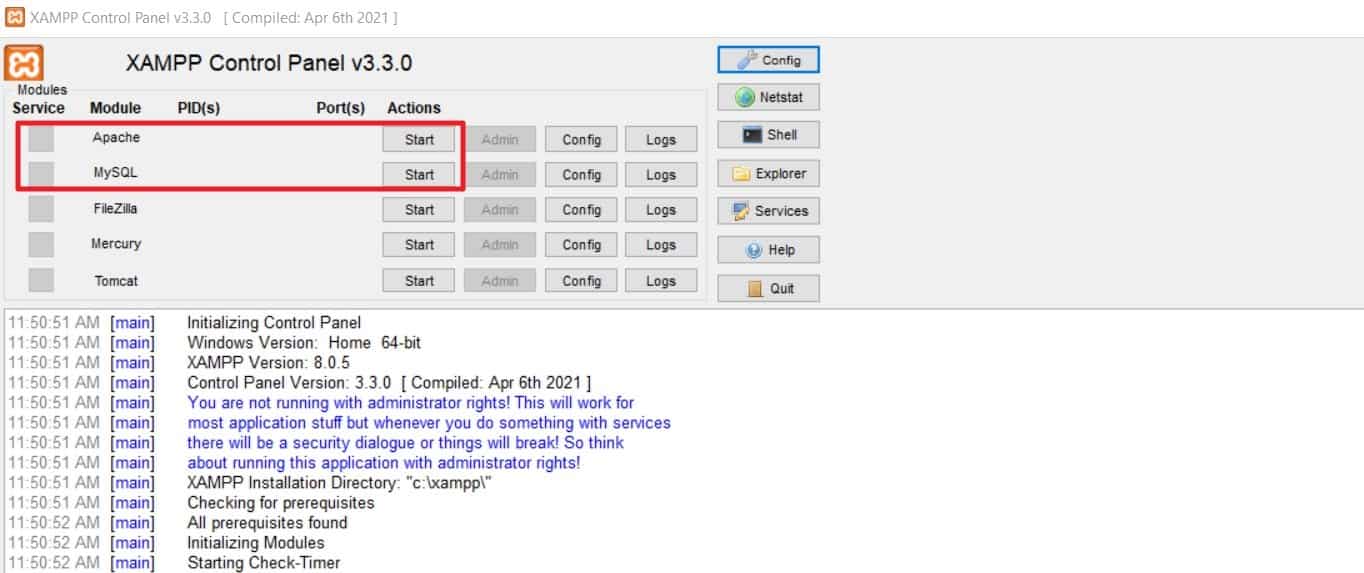
If everything went right, the two abovementioned modules will turn green:
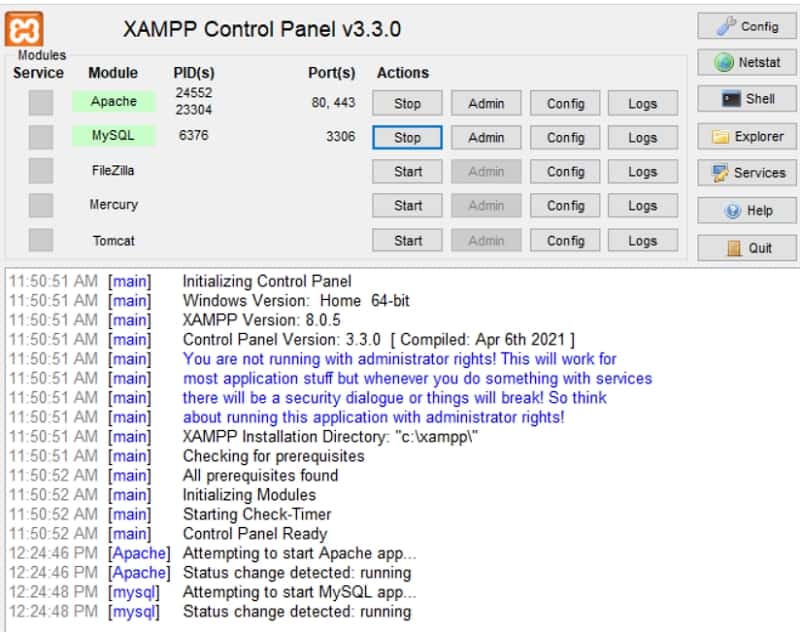
Note: If you plan on turning this into a WordPress Multisite, you can only use ports 80 or 443 (that are already automatically set for you once you start the Apache module). More on that later.
Step 4: Create a Database
You have just one more thing to do.
Open a new browser tab and type the name of the localhost you enabled. For instance http://localhost.

You’ll be taken to a welcome page for XAMPP:
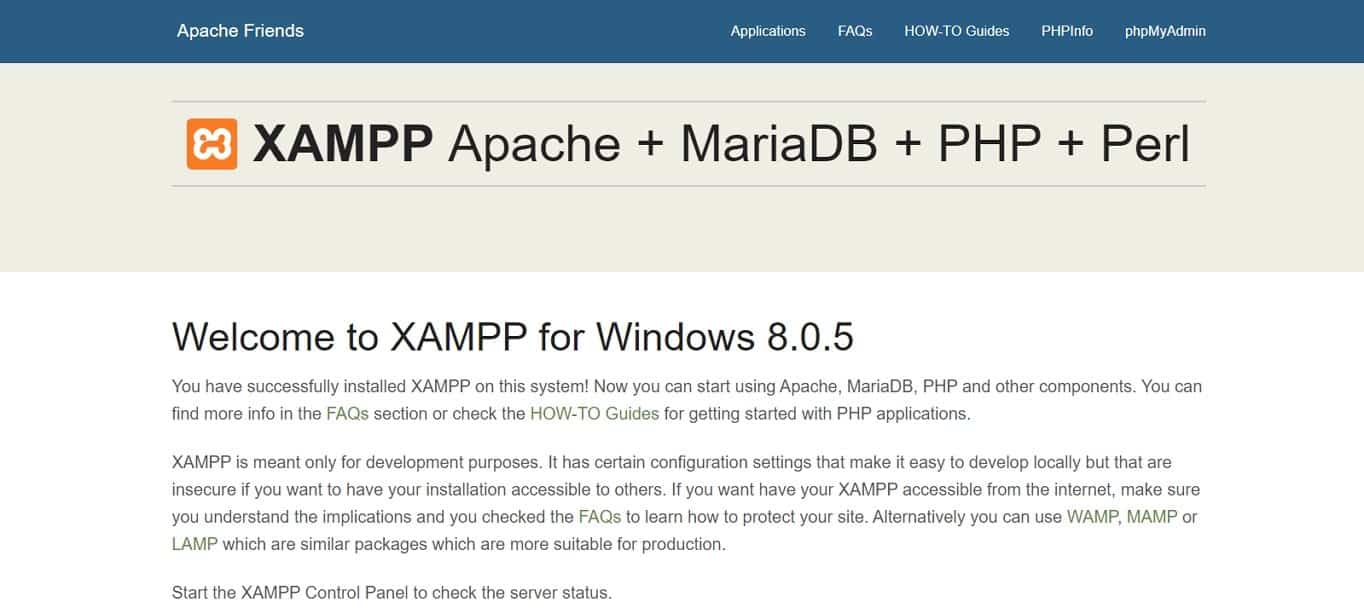
To add a new database, click on the phpMyAdmin button in the top-right corner of this page. The phpMyAdmin will automatically launch:
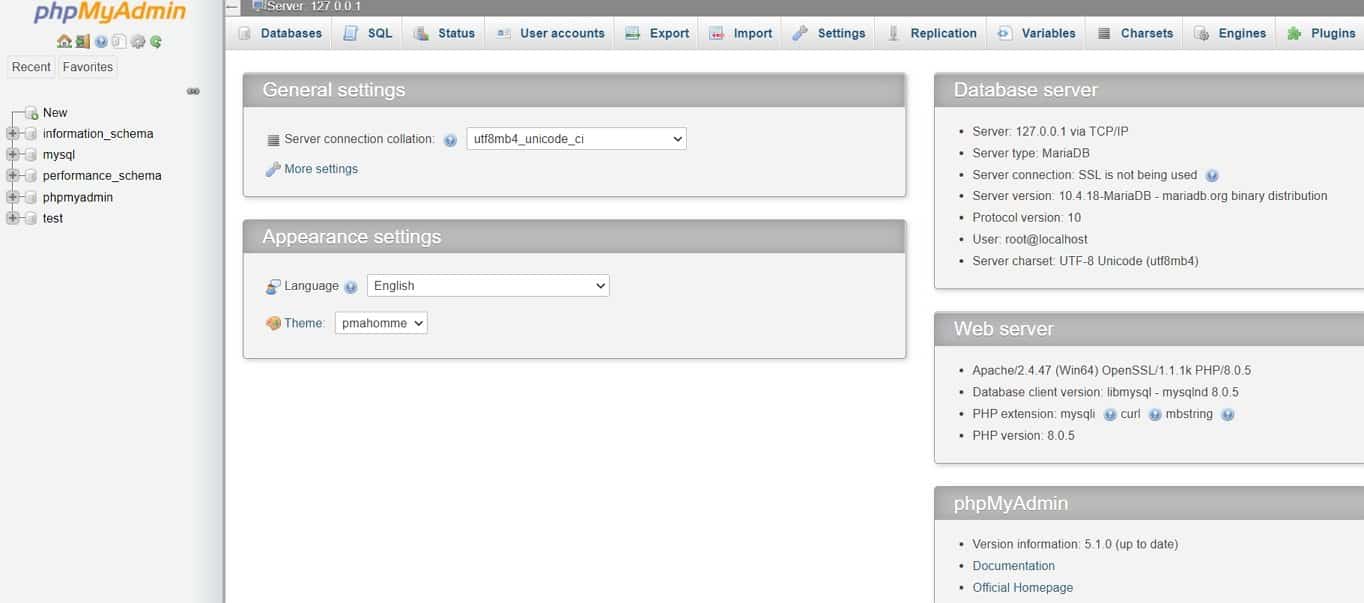
Before we add WordPress to the local server, we first need a database for it. Go to the Databases tab at the top of the page of phpMyAdmin:
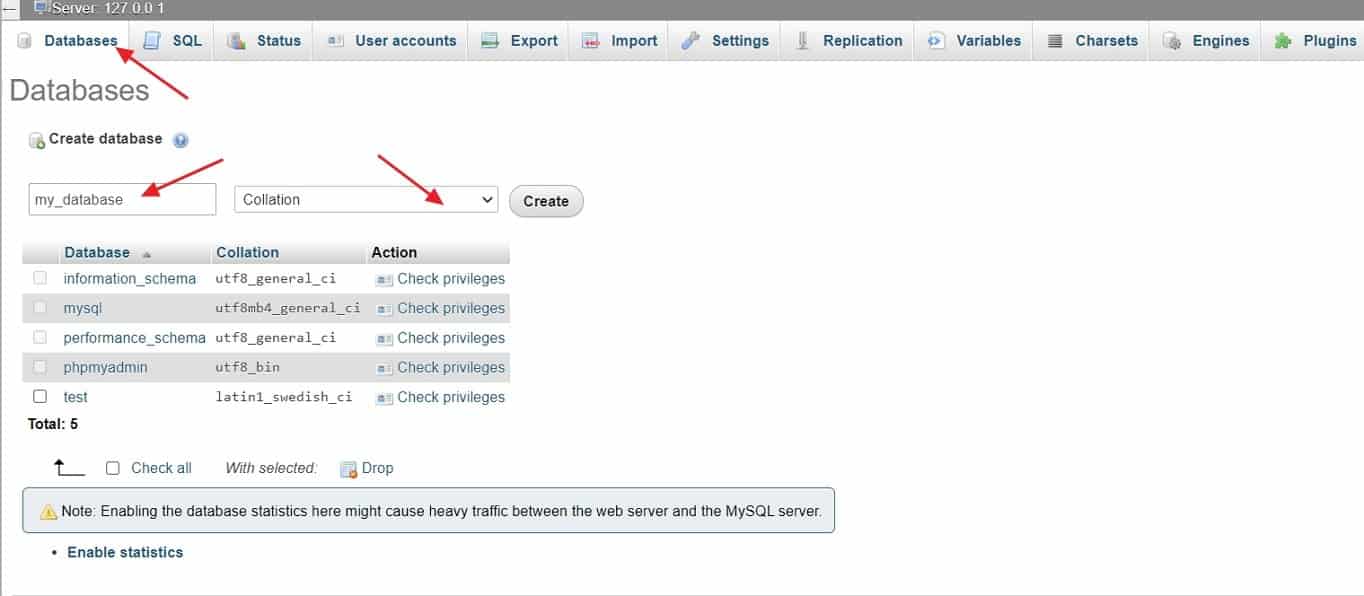
Give your database a name (use all lowercase letters and underscores instead of spaces). Then, update the drop-down menu from utf8 to Collation. Click the “Create” button when you’re done.
Step 5: Download WordPress
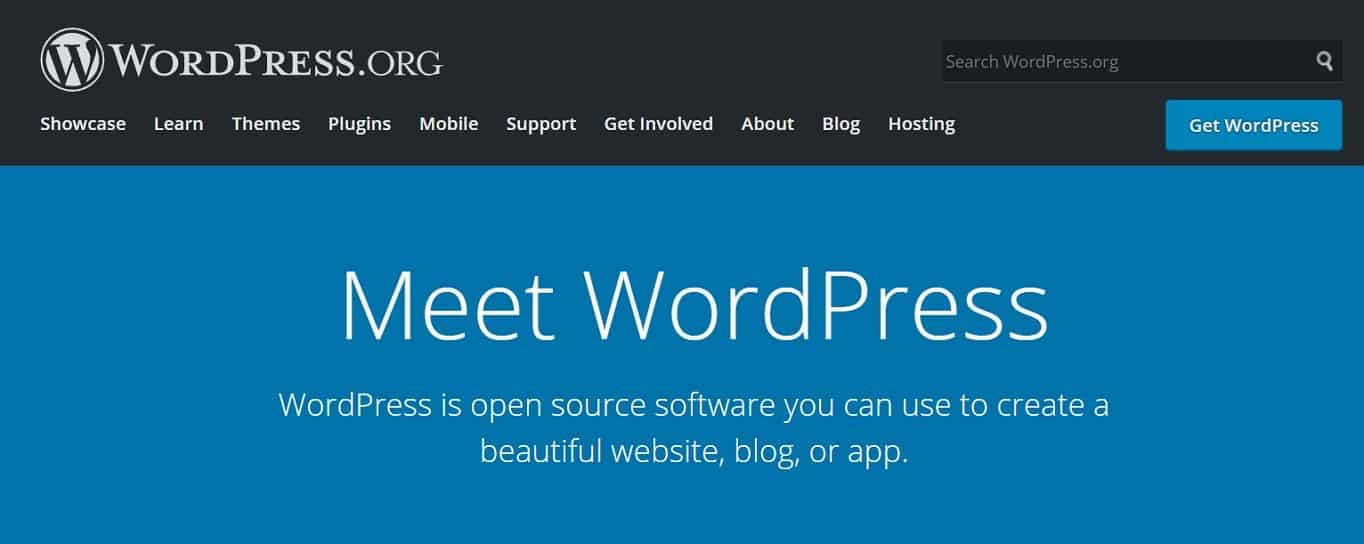
To retrieve the latest version of WordPress, go to the WordPress.org website. Click “Get WordPress” in the top-right corner of the page:
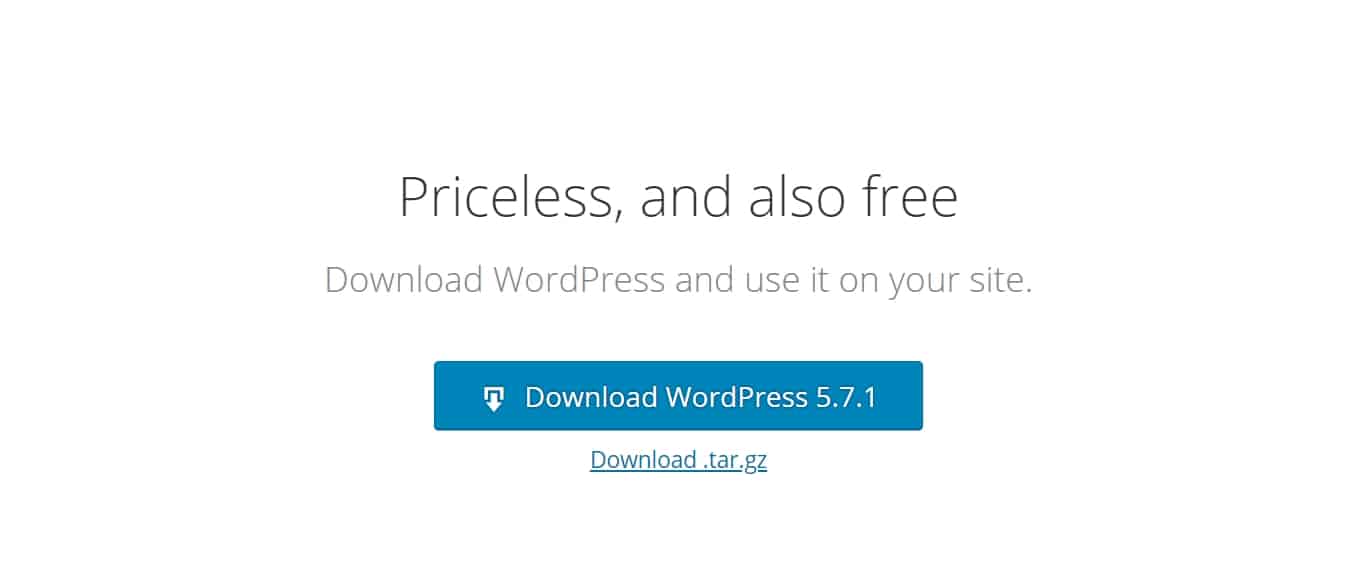
You can download the zip file from here:
Step 6: Extract WordPress Files
To install WordPress locally, you need to move your downloaded files (unzipped) to XAMPP’s htdocs folder.
In htdocs, create a new folder for your site and rename it. For example, we’re going to name it “testsite”.
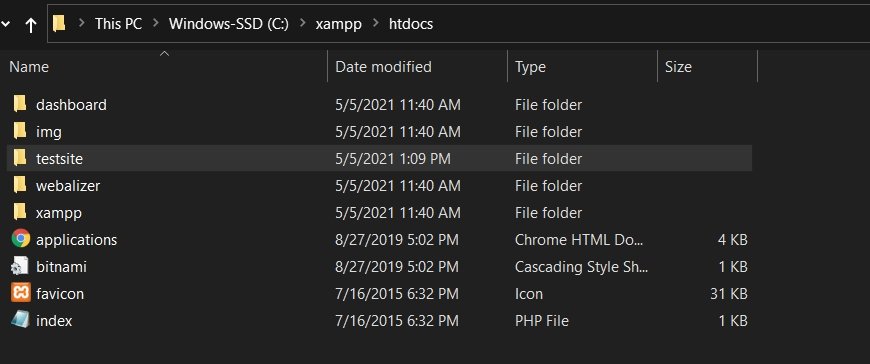
Once your folder is created, extract the WordPress .zip file that you downloaded earlier into it:
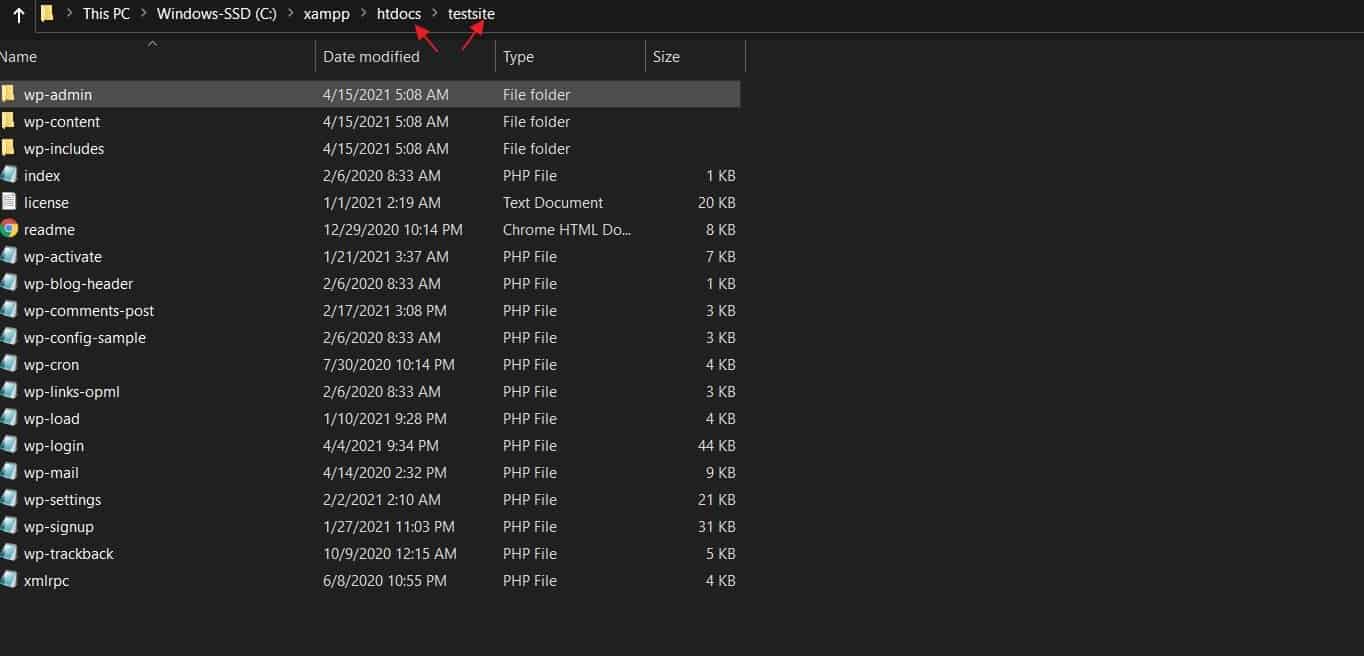
When this is done, you can start installing WordPress locally.
Step 7: Install WordPress on the Localhost
To access your new WordPress install, go to the original localhost address you used in the beginning, followed by your new WordPress folder name.
For example: https://localhost/testsite
You’ll then see this page:
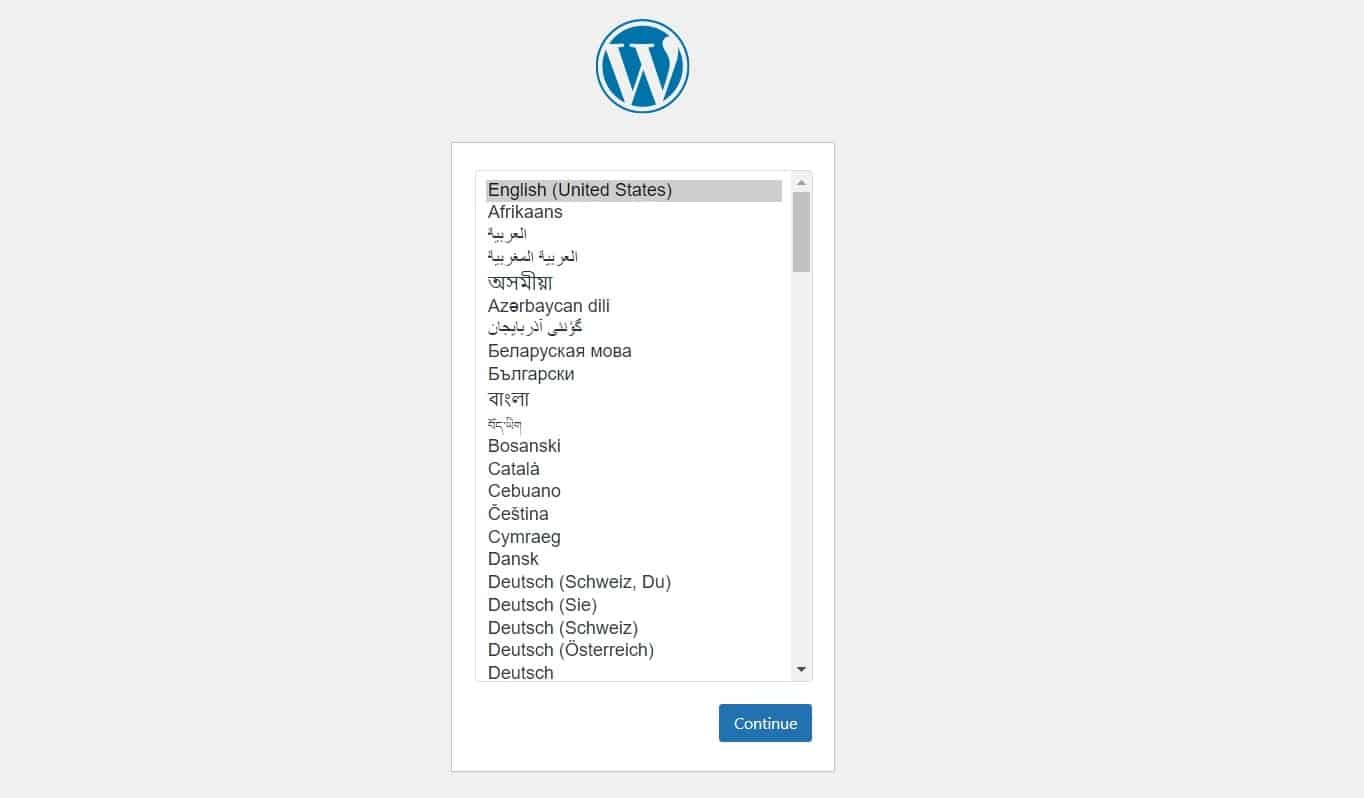
Select your language and move on to the next step which is filling out database details.
Enter them like this:
- Database name: Fill in the same name that you used for your phpMyAdmin database (check step 4).
- Username: “root”
- Password: Leave blank
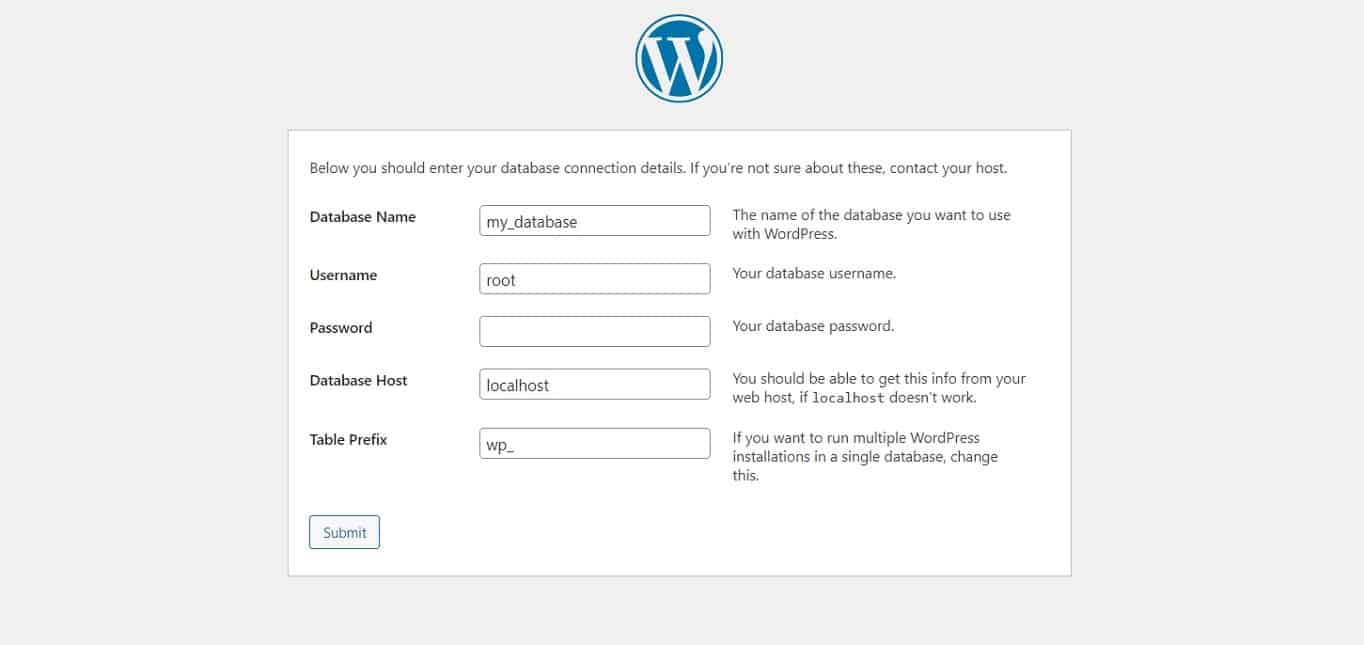
Once everything is done, click on “Submit” and you’ll be taken to the WordPress installation page.
Fill in all of the details — including your admin username and password — and complete the installation.
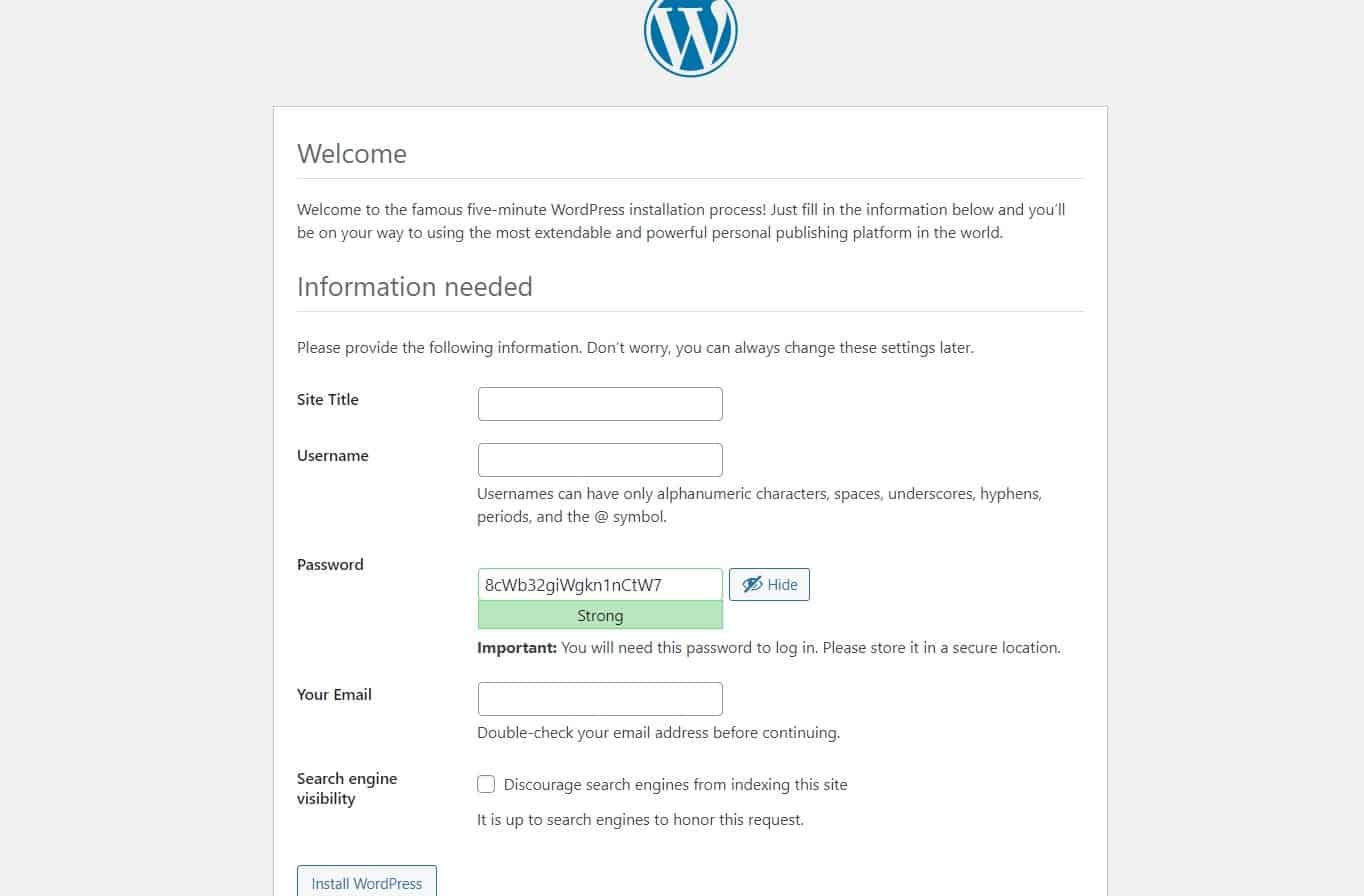
When you’re done, log in to your WordPress dashboard:
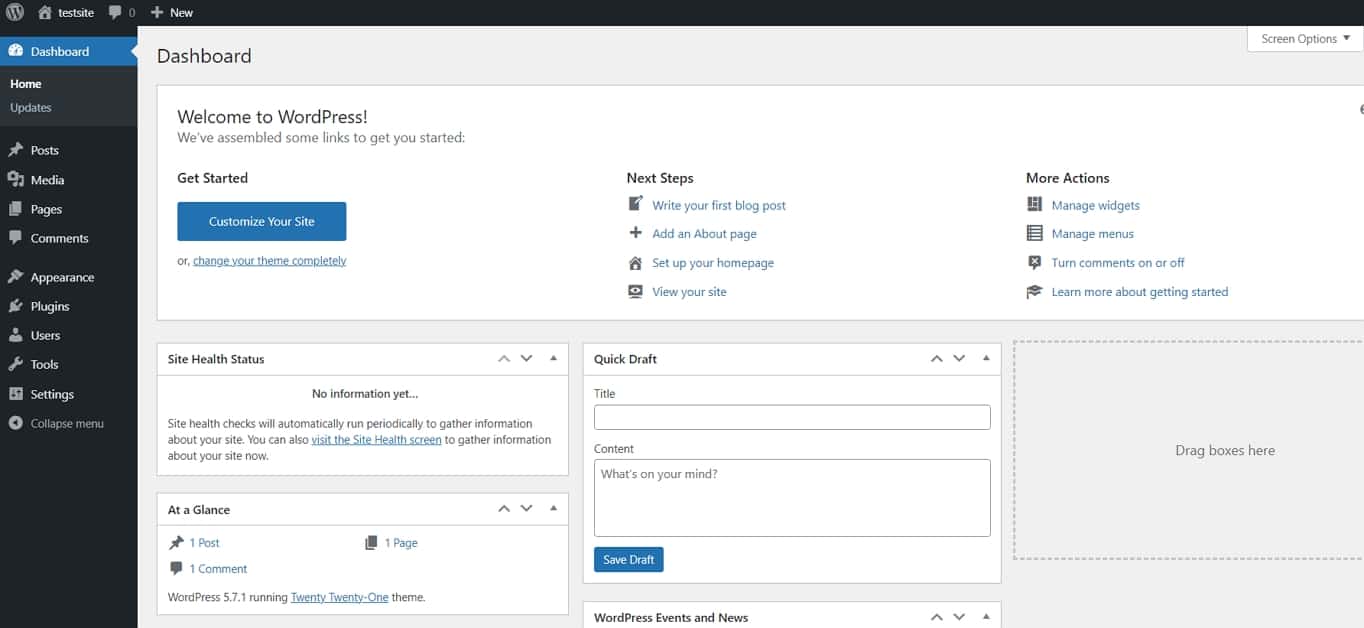
And that’s it! You’ve now successfully installed WordPress locally with XAMPP.
To access your local site in the future, load the XAMPP app and “Start” the local server. Then go to your localhost web address and log back in. (So, make sure to bookmark it).
How to Install WordPress Multisite on Localhost
If you want to test things out on a WordPress Multisite network, you can do this with XAMPP as well.
Steps 1-7: Install WordPress Locally
To activate Multisite, you’ll need to complete Steps 1 through 7 first.
Step 8: Activate WordPress Multisite
Open the wp-config.php file from the htdocs folder.
Find the line:
/* That's all, stop editing! Happy publishing. */
Just above it, insert the following Multisite activation string:
define('WP_ALLOW_MULTISITE', true);
Save the file.
Log out of your local WordPress site and log back in again. Go to Tools > Network Setup.
As noted earlier, WordPress only allows Multisite to run through network ports 80 or 443. If you didn’t originally configure XAMPP through one of those ports, that’s okay. Use this workaround.
Go to your XAMPP folder and locate the following:
/(your website folder name)/wp-admin/includes/network.php
Inside this file, there’s a line that says:
if ( ( false !== $has_ports && ! in_array( $has_ports, array( ':80', ':443' ) ) ) ) {
This is the reason you might see an error when trying to access Network Setup in WordPress. To fix this, add the port you ended up using to the code. For example:
if ( ( false !== $has_ports && ! in_array( $has_ports, array( ':80', ':443' ,':8080') ) ) ) {
Save the file and return to Network Setup in WordPress.
You’ll be asked to give your network of websites a name and designate an admin user.
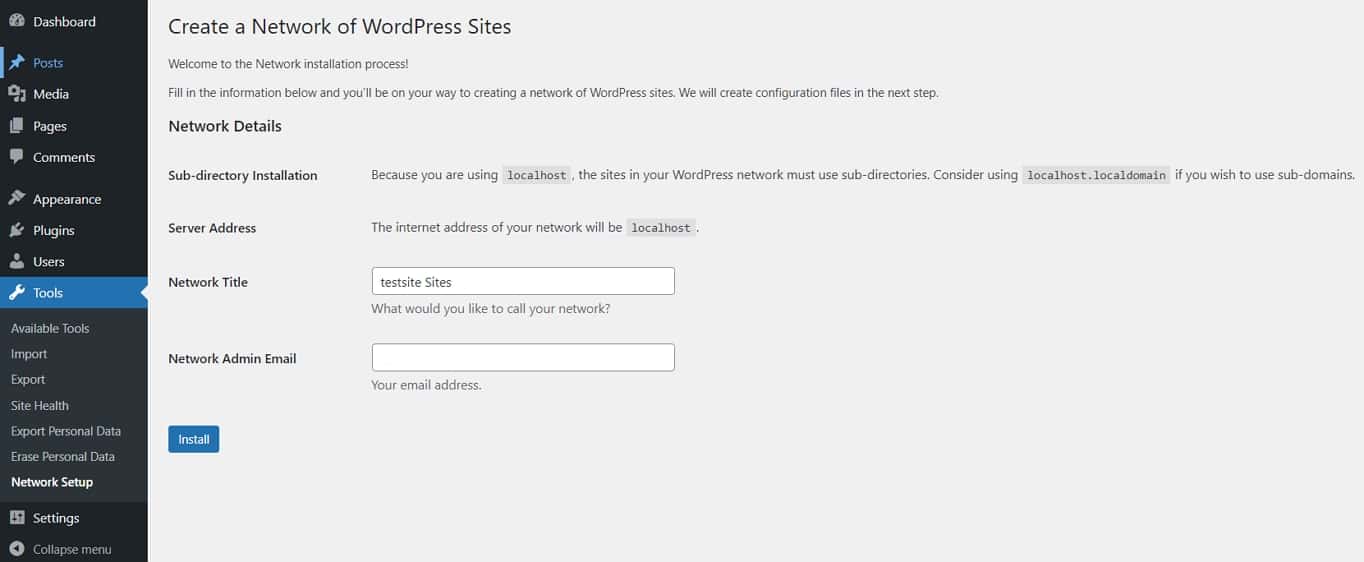
Then, you’ll see these instructions:
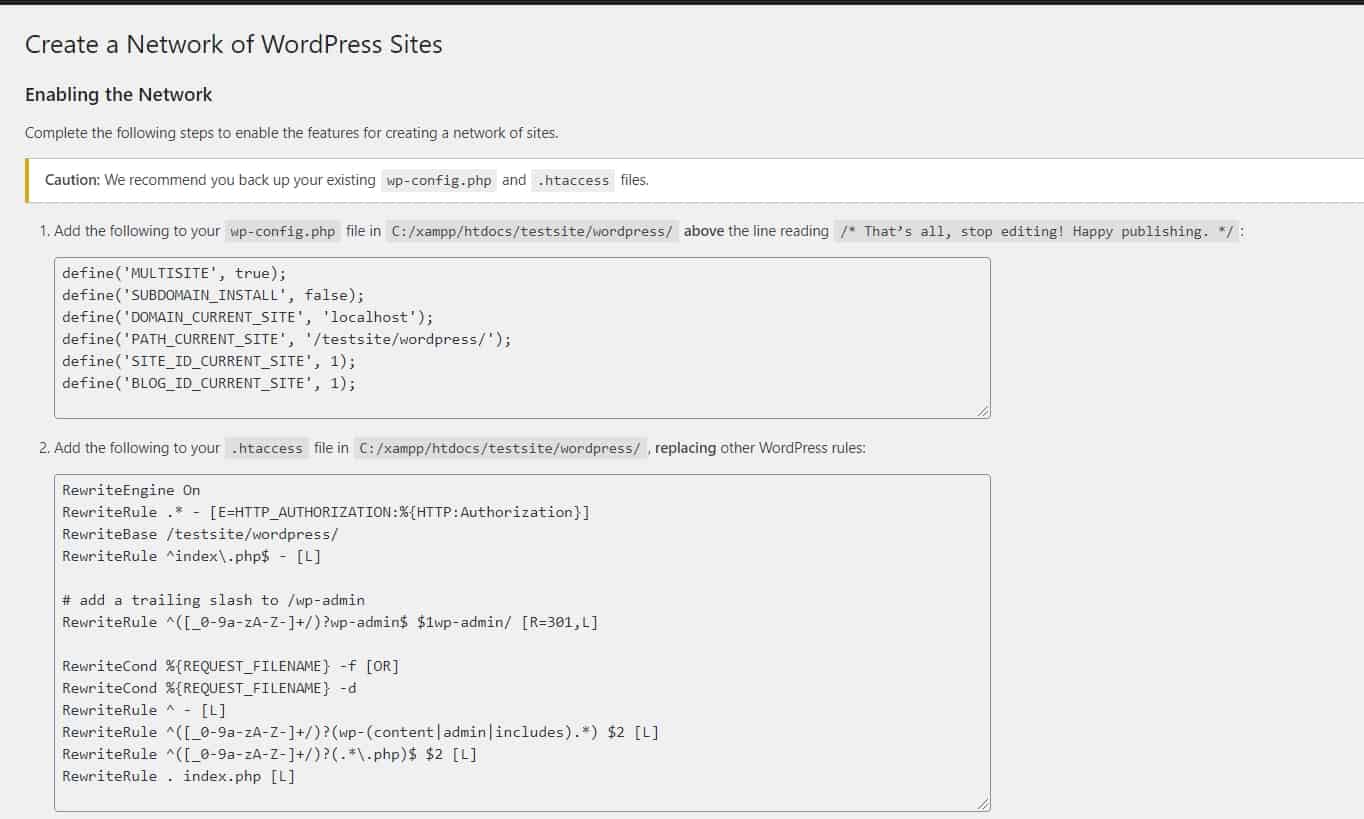
You’ll need to update both your wp-config.php and .htaccess files. If you can’t find the .htaccess file, you’ll have to create it from scratch. Open your text editor, insert the code snippet, and save it to the folder.
Once you’ve saved both of those files, log out of WordPress once more. When you log back in again, you’ll see that WordPress Multisite has been installed locally.

Wrap-Up
It’s never a good idea to build, experiment, or troubleshoot on a live WordPress installation.
In cases where the work you do needs to be pushed to a live site, it makes more sense to use a staging server or subdomain. However, if you’re testing new features, design techniques, or tools, working locally is a better idea. (It’s cheaper, too).
Thanks to XAMPP, all it takes is 7 steps and no more than 15 minutes to install WordPress locally.
